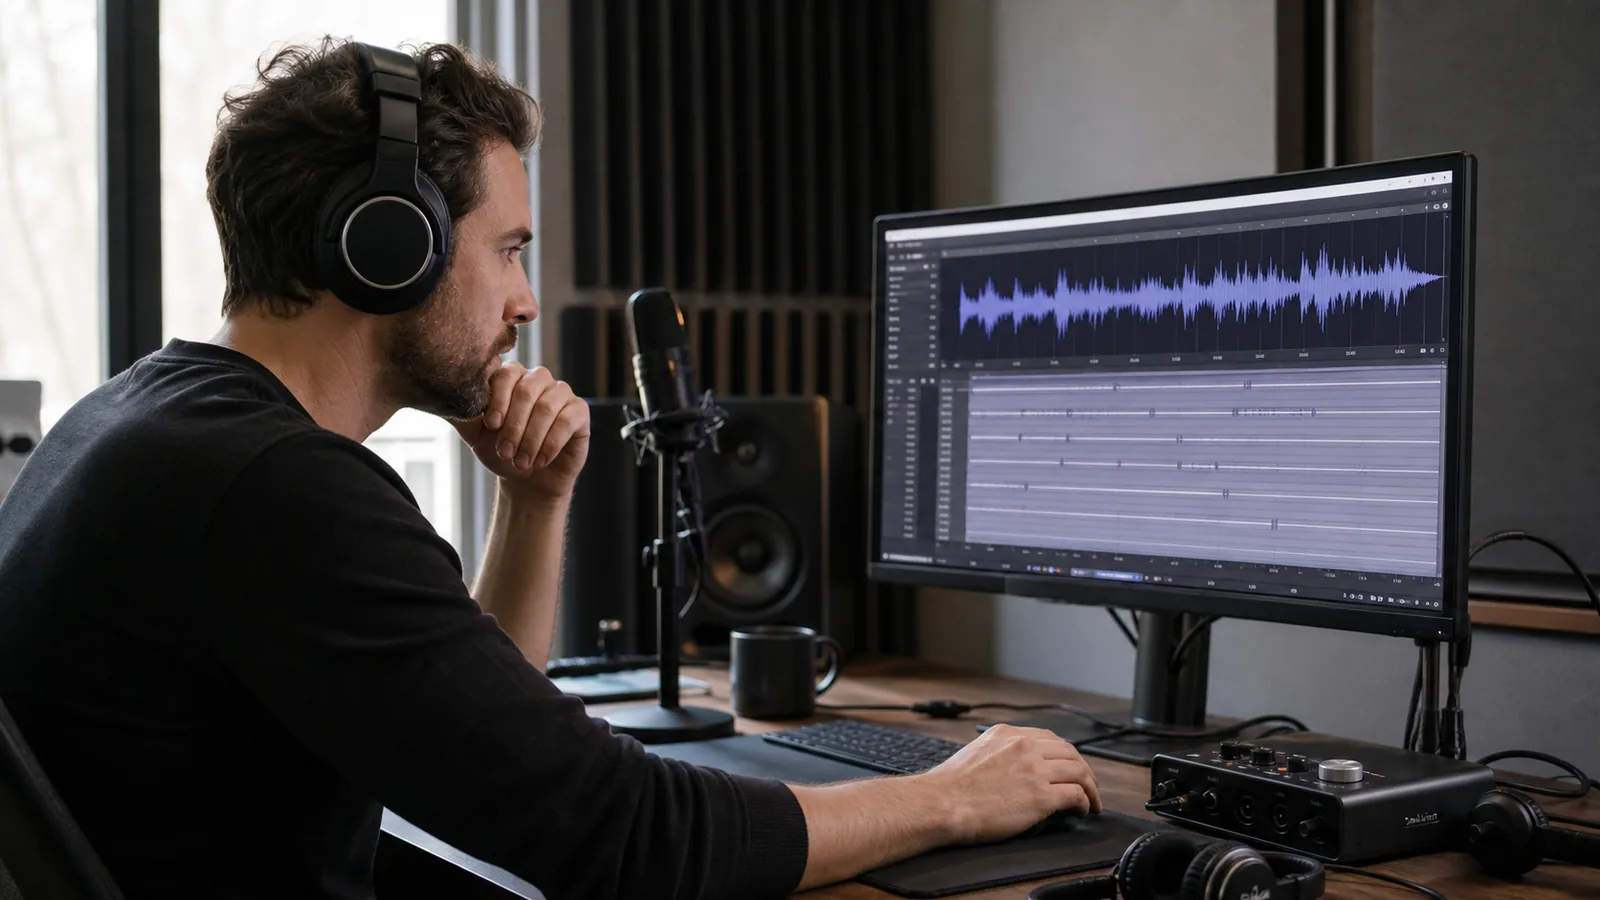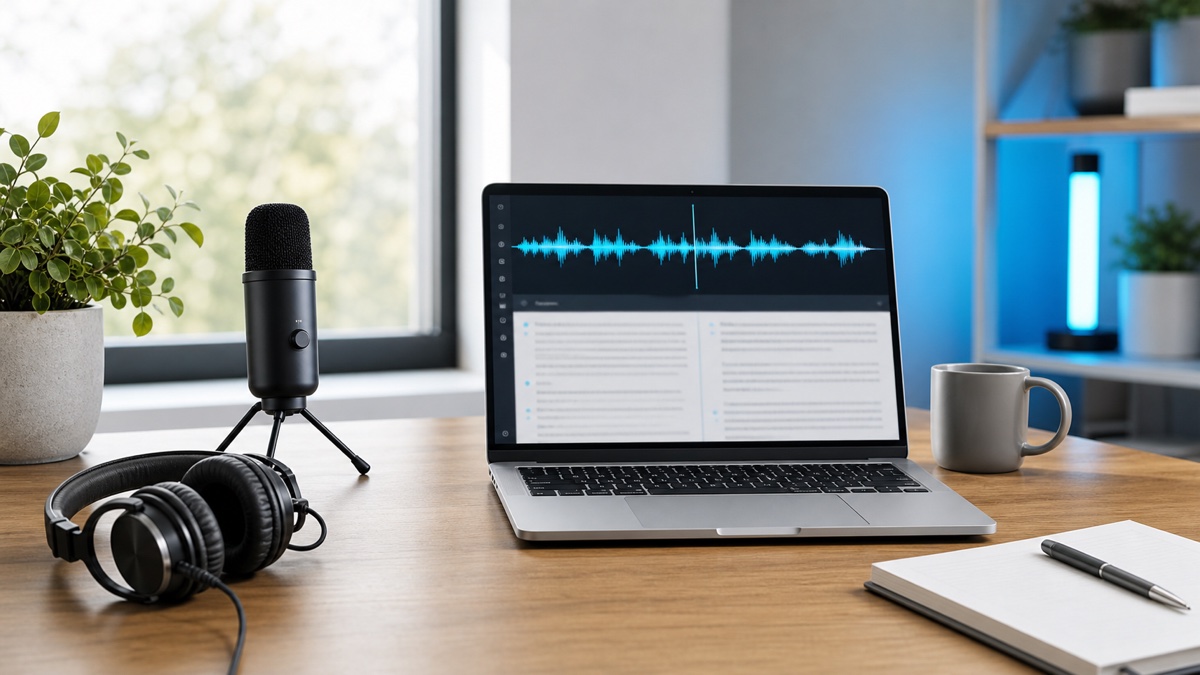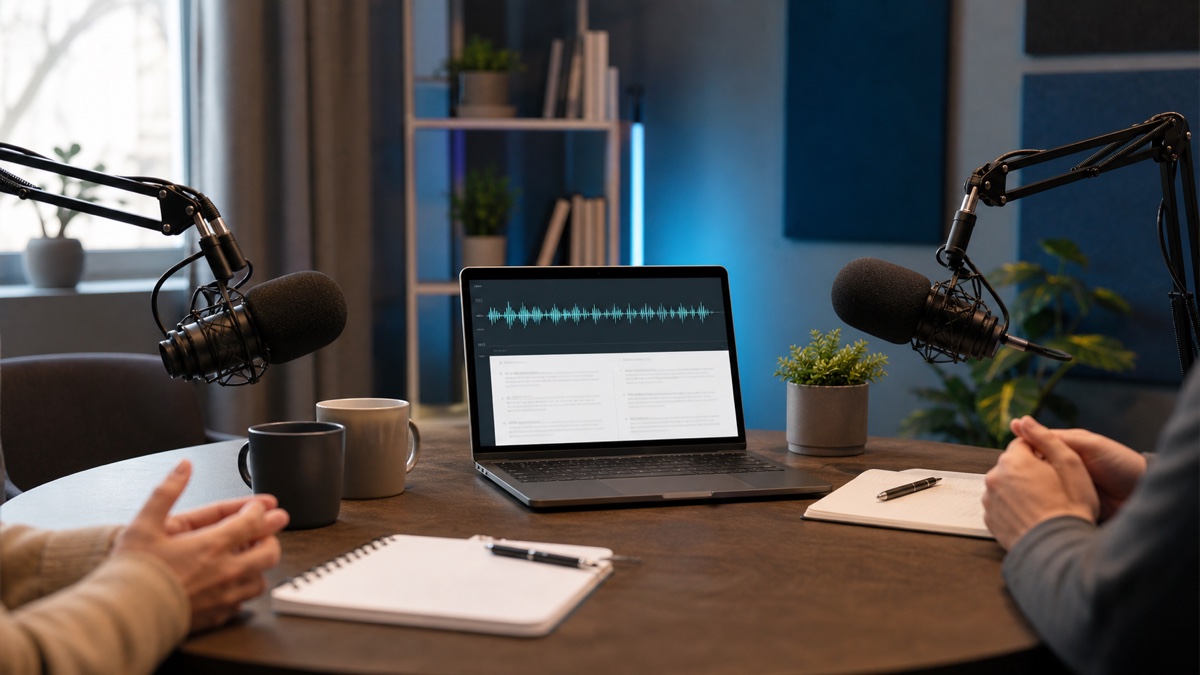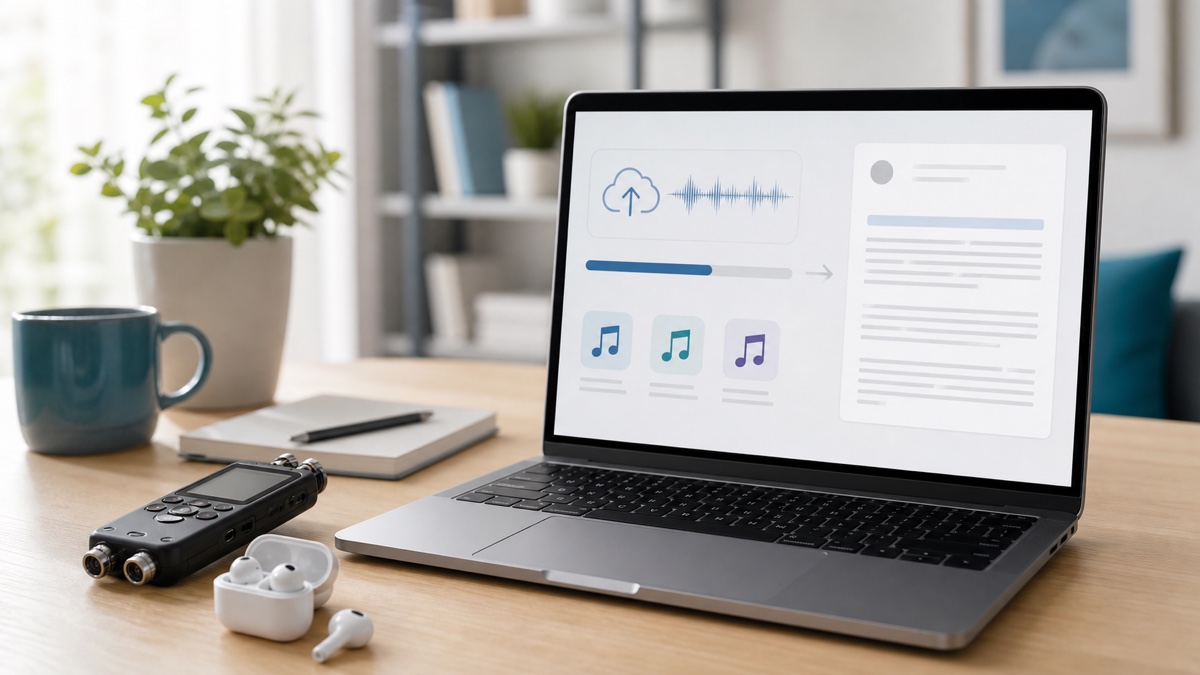
The slow way to get text out of a recording is to play it, pause it, type a sentence, rewind because you missed a word, and repeat for an hour. GPT Transcribe speech to text replaces that with five steps, most of which take seconds: get the file ready, pick how it comes in, set two options, let it run, then check the parts that matter before you export.
The step people skip is the last one. A transcript is not a finished thing — it is the raw material for meeting notes, an interview quote bank, a caption file, an article draft, a support record, or an archive you can search next year. Knowing which of those you are heading for changes what you do at almost every earlier step, so decide first.
Step 1: Prepare the audio file
Upload the best copy you have. The version that went through a messaging app has been compressed twice and lost detail that no amount of processing recovers. If two people recorded the same session, take the track where the microphone was closest to whoever was talking.
Trim dead air off the front and back while you are at it. You do not need studio conditions — clear speech, not too much room noise, and people mostly not talking simultaneously is enough. What helps more than any setting: jot down the names, acronyms and product terms you expect to appear, because those are what you will be checking afterwards.
For anything long, test before you commit. Five minutes through the system tells you whether the language and speaker settings are right; discovering they were wrong after a ninety-minute file has been transcribed and reviewed is an expensive way to learn it.
Step 2: Open the transcription workspace
Head to the GPT Transcribe speech to text workspace and pick your input. Upload handles files you already have — MP3, WAV, M4A, video. Recording captures something happening right now, straight from the page. URL import takes a direct media link and fetches the audio itself, which saves downloading a large file only to upload it again.
If you want a guided export-first route, open the free audio to text converter. If the useful part of a camera file is only its soundtrack, first use the private browser-local MOV to MP3 converter or MP4 to MP3 converter, then bring the smaller listening file into transcription.
Match the input to how the audio came into existence. That sounds obvious, but the common mistake is downloading a hosted file to your machine and uploading it back, which adds a step and occasionally a re-encode.
Once the file is ready, stop before you press start. The next thirty seconds are worth more than any cleanup you would otherwise do later.
Step 3: Choose language and speaker settings
Name the language if you know it. Detection is there for when you do not, and it works — but a fixed language gives the system less room to go wrong on exactly the recordings that are already difficult: short clips, background noise, dense jargon. If the audio moves between languages, plan for a longer review; that is where automatic output drifts most.
Switch on speaker labels whenever several people talk. Interviews, meetings, panels, customer calls — all become readable rather than decodable. Afterwards you rename "Speaker 1" to a real name, which takes a moment and makes the document usable by someone who was not in the room.
For a solo voice note, labels just add structure nobody needs. Set them by destination: an interview needs speaker separation; a narrated tutorial needs clean paragraphs and timestamps far more.
Step 4: Review the transcript before exporting
Read it through once, start to finish, before you touch anything. You are looking for a specific set of things: names, numbers, links, technical vocabulary, and any stretch where two people spoke at once. That is where errors cluster, and a single read locates them faster than editing as you go.
Then edit according to destination, not habit. Internal notes need decisions, names, and owners correct — grammar can stay rough. A published piece needs false starts cut and sentences rebuilt. Captions need neither; they need timing and line length.
For any quote you plan to attribute publicly, play that section of audio and confirm it word for word. Automatic transcription can be strong overall and still lose a proper noun or a quietly delivered clause. That check is what makes the difference between a transcript and a document you can stand behind.
Step 5: Export for your workflow
TXT when you just want the words. DOCX when it is going to someone who works in a document editor. SRT or VTT when it is becoming captions. JSON when a developer or an internal tool needs the segments and timings intact.
Making captions? Export the subtitle file and load it into the player or editor before publishing. The W3C's guidance on captions and transcripts explains why they matter for accessibility; the practical point is narrower — text alternatives make media usable in the many situations where audio is not an option.
Writing from the transcript instead? Take a readable format and treat it as a first draft rather than a document. Speech is full of restarts, filler, and context repeated three times for whoever joined late. The transcript hands you the substance; shaping it is still your job.
FAQ
Can I transcribe MP3 to text online?
Yes. Drop the MP3 into the speech to text workspace, set language and speaker options, run it, check the result, and export in whichever format your next step needs.
Should I select a language or use auto detect?
Set it when you know it — that helps most on short or noisy files. Leave detection on when the language is unknown or when you are working through a mixed batch.
What should I do after the transcript is generated?
Check names, numbers, timestamps and speaker attribution before anything else. Those are the errors that matter. Then export in the format the next stage of your workflow actually consumes.